
Kid Friendly DIY Gift Ideas
Ok, confession time. I hate slime, and refuse to make it again (I tried once and it did not end well). I’m not a fan of playdough (probably didn’t help that my kids don’t really like it either and I would find small dried up pieces of it in the tiniest crevices of my house).
But my kids LOVE arts and crafts. They create something daily at preschool and proudly show off their latest creations when we pick them up. I asked my son the other day what he wanted to do before bed and he asked (ahem demanded) pom poms so he could glue them onto paper and turn it into a colorful fish. Especially during our shelter at home days, I scoured the web looking for kid appropriate craft activities as a fun way to do something together, or for them to do independently. I’ll admit, not all our crafts turned out that great. Or that cute. But the ones that did? Those became amazing homemade treasures that we’ve kept, decorated our home with, and given as homemade gifts to friends, teachers, neighbors, grandparents, etc. So I decided to compile our best hits below.
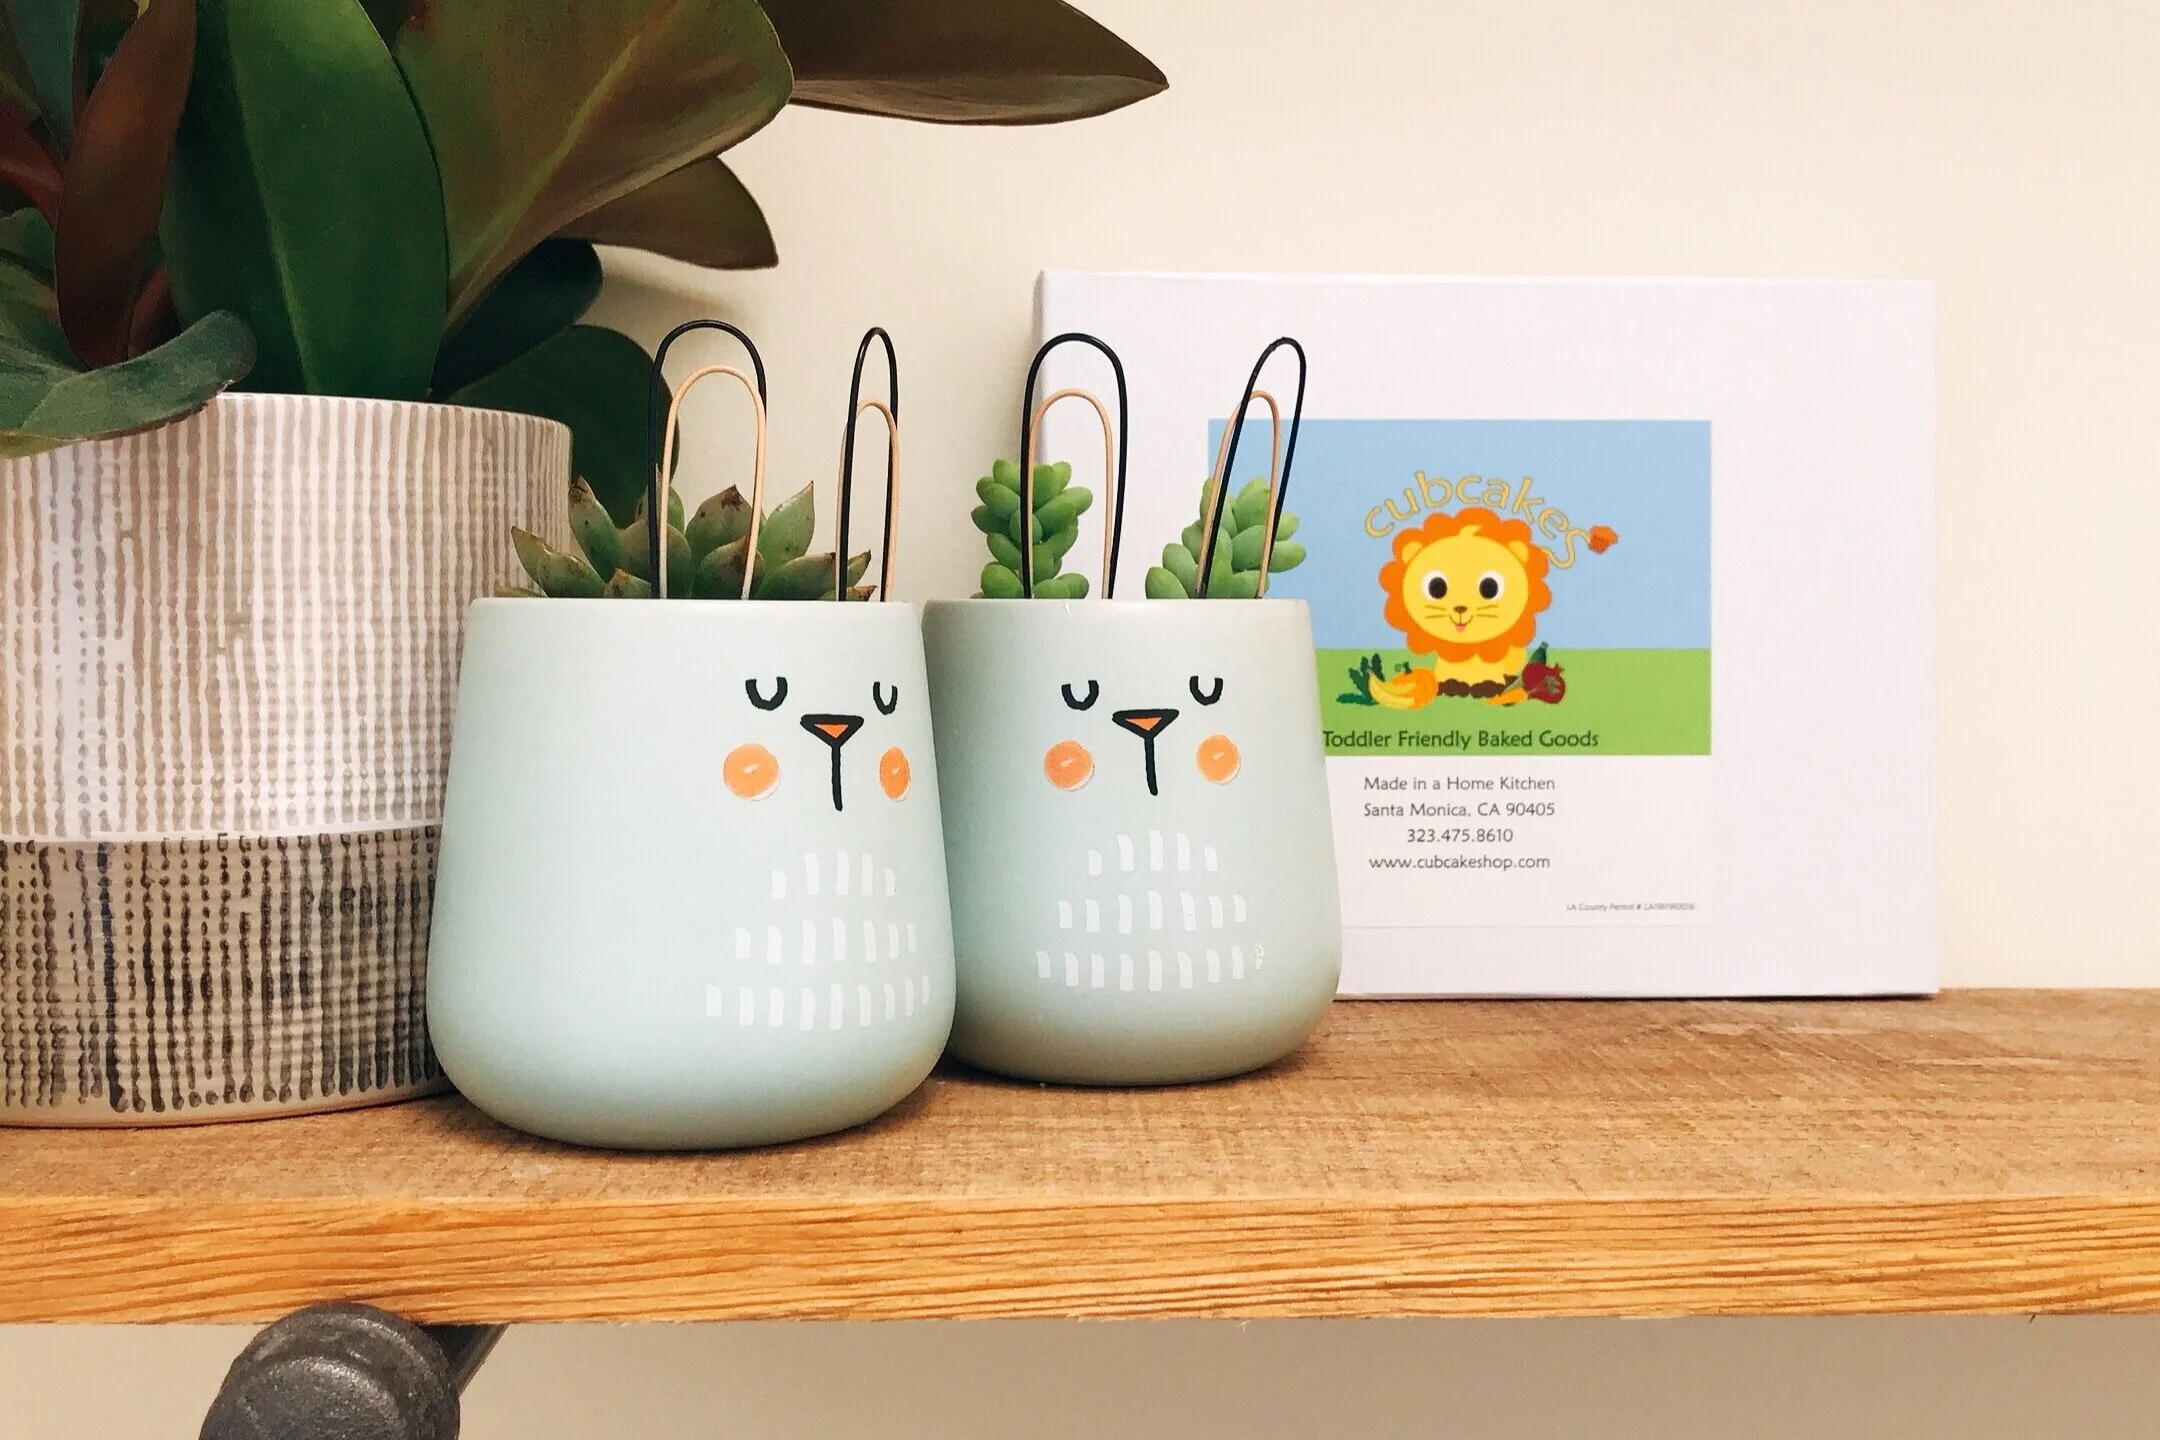
DIY Potted Plants
what you’ll need
pot
plant
soil
paint and paintbrushes (optional)
I found some cute already painted pots at my local store, but you could totally have them paint some plain ones as well (I am going to try having them paint their own pots next time we do this!) We spent some time at our local nursery picking out succulents and the kids helped me pour the soil into the pots and nestled their plants into their new home. We’ve given these as gifts for teachers during Teacher Appreciation Week, grandmas for Mother’s Day and kept a few to leave around our house.
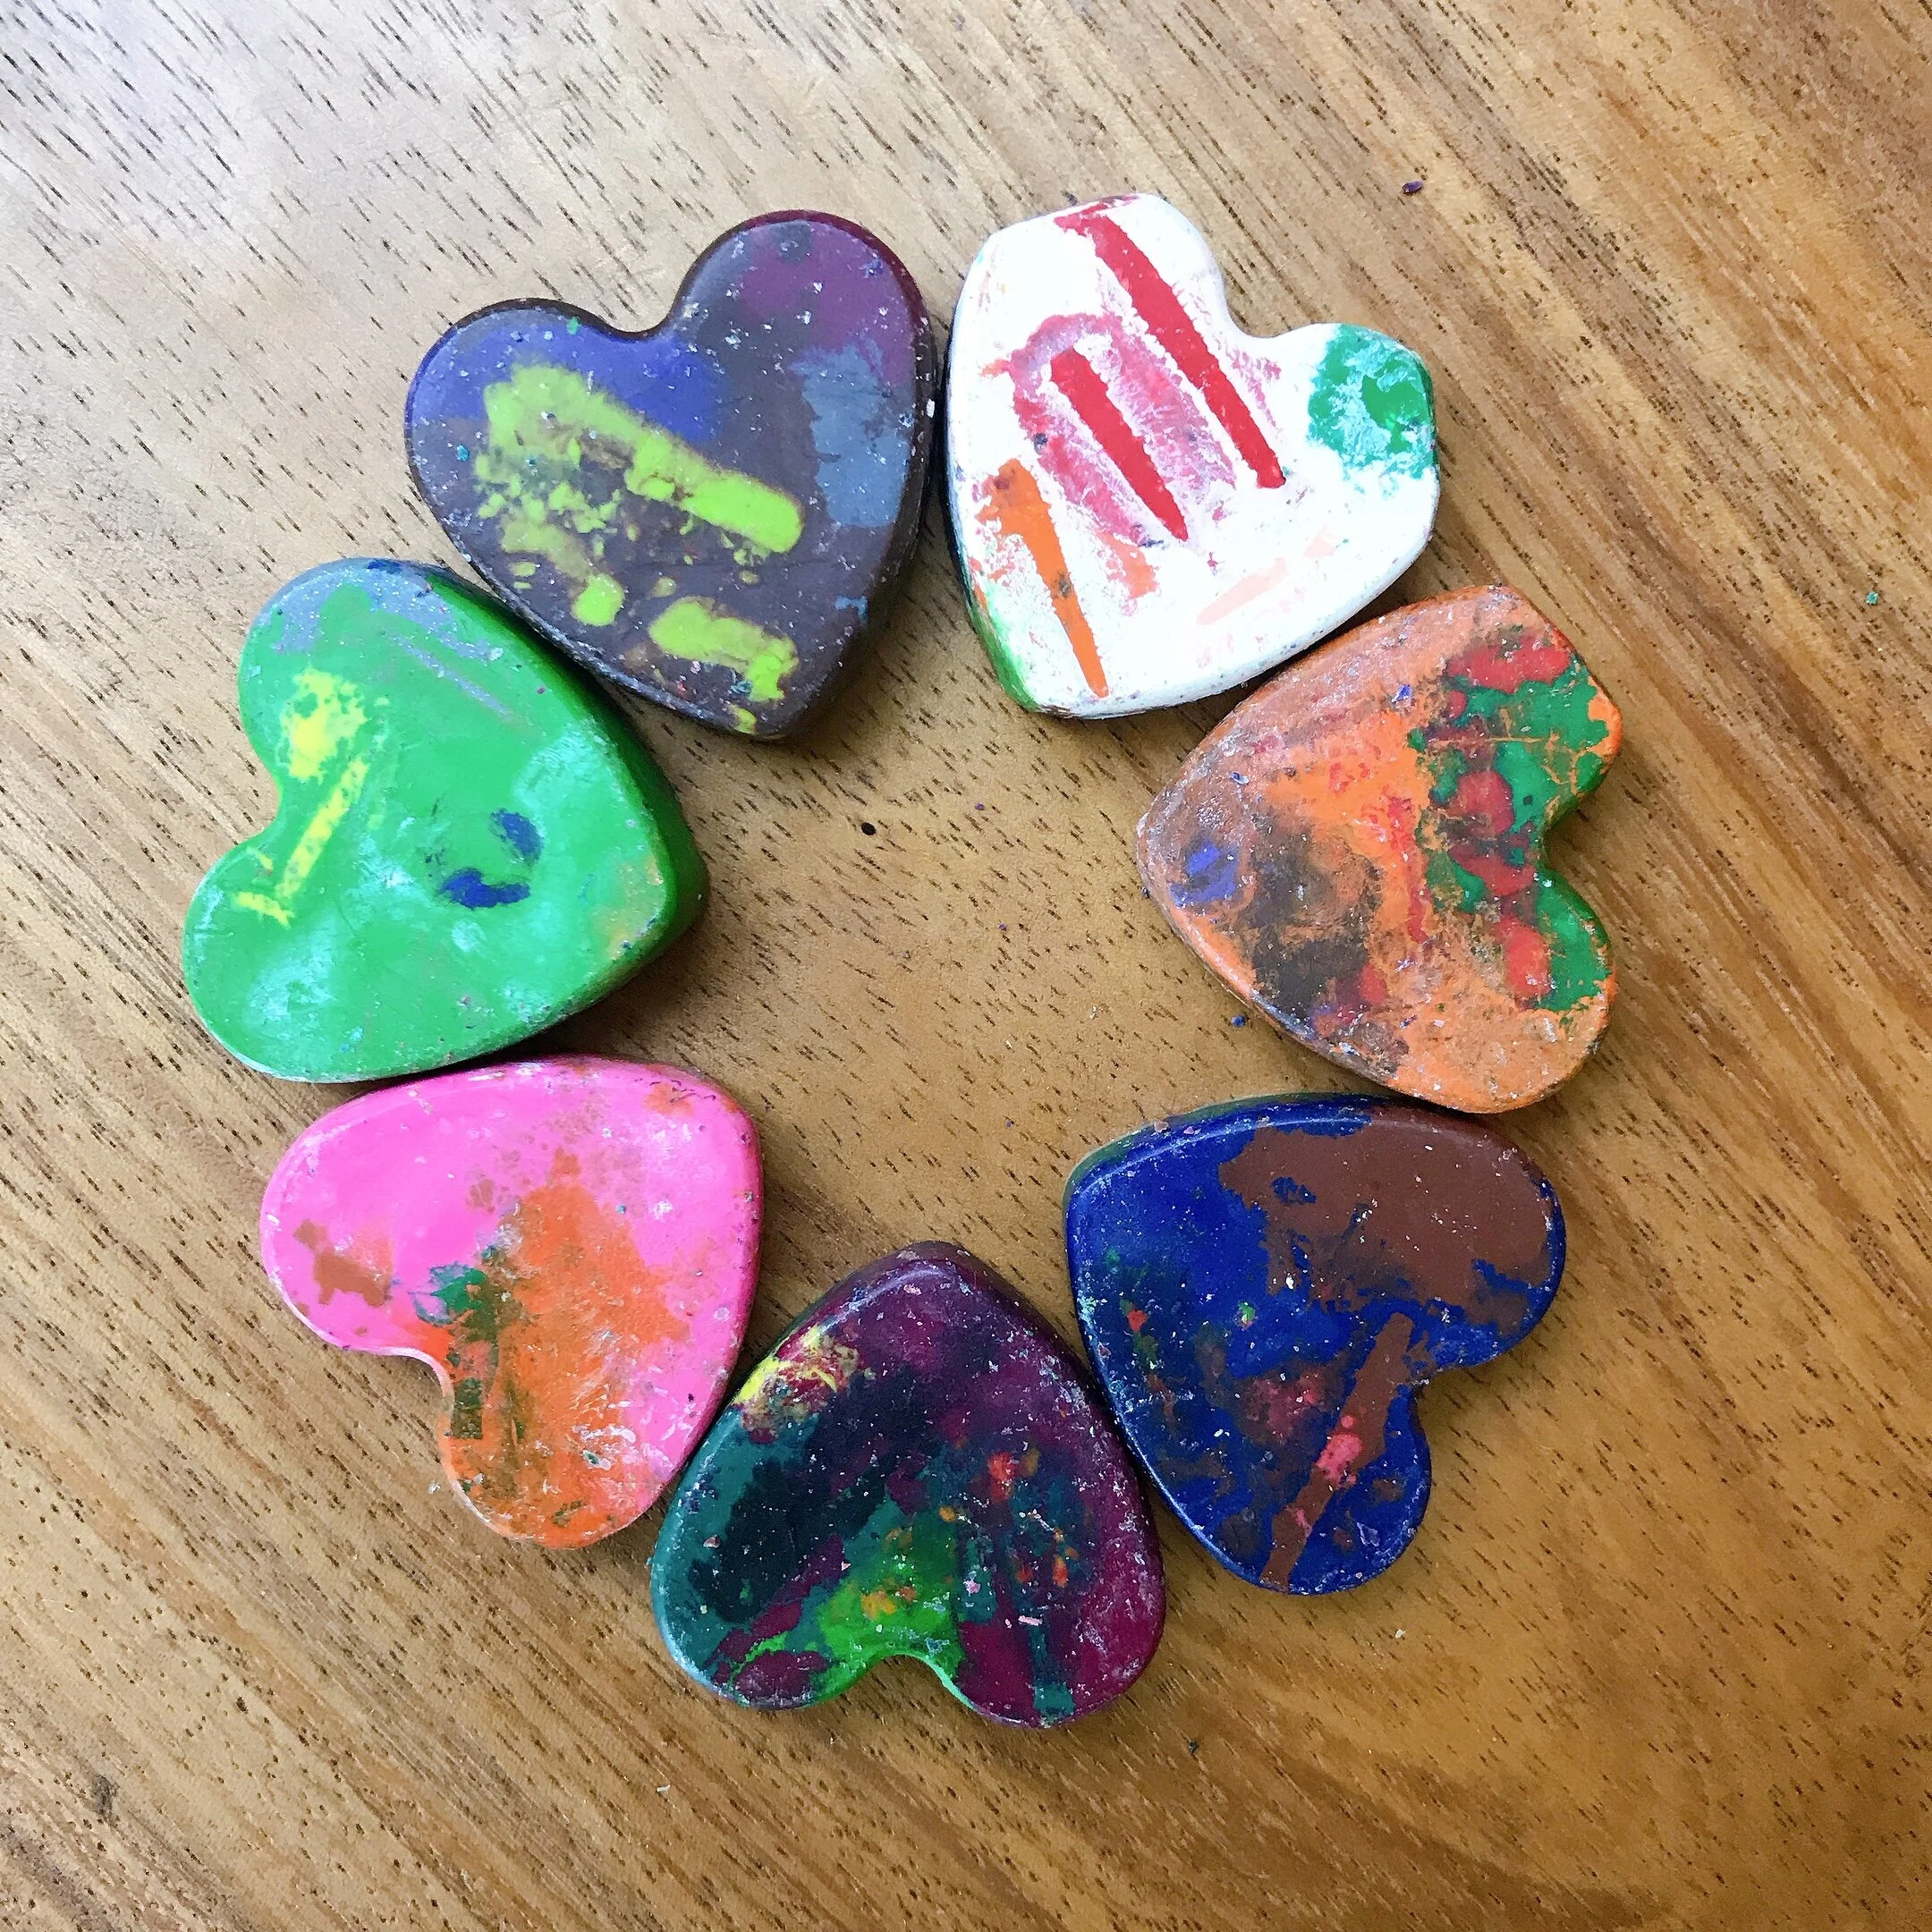
DIY Heart (or any shape) Crayons
What you’ll need
Crayola crayons
Any shape silicone mold
Baking sheet
I got this activity from Tiffanie Anne’s blog and made these for my kids preschool valentine gifts and they were a huge success (as in, my hearts looked just as good as the ones from the original post and my kids thoroughly enjoyed this activity). You can get creative with different shapes, put them in goody bags, or even make them part of a homemade coloring kit!
Preheat oven to 250
Soak crayons in a bowl of warm water for a few minutes to loosen the paper around the crayons. The kids thoroughly enjoyed removing all the paper.
Break crayons into small pieces. Don’t need to be precise, irregular totally works. Kids went crazy over this and broke way more crayons than we needed but that’s ok.
Put broken crayon pieces into silicon mold. Kids chose where all the crayons went.
Bake in oven on top of a baking sheet for about ten minutes or until completely melted. Cool before removing from mold.
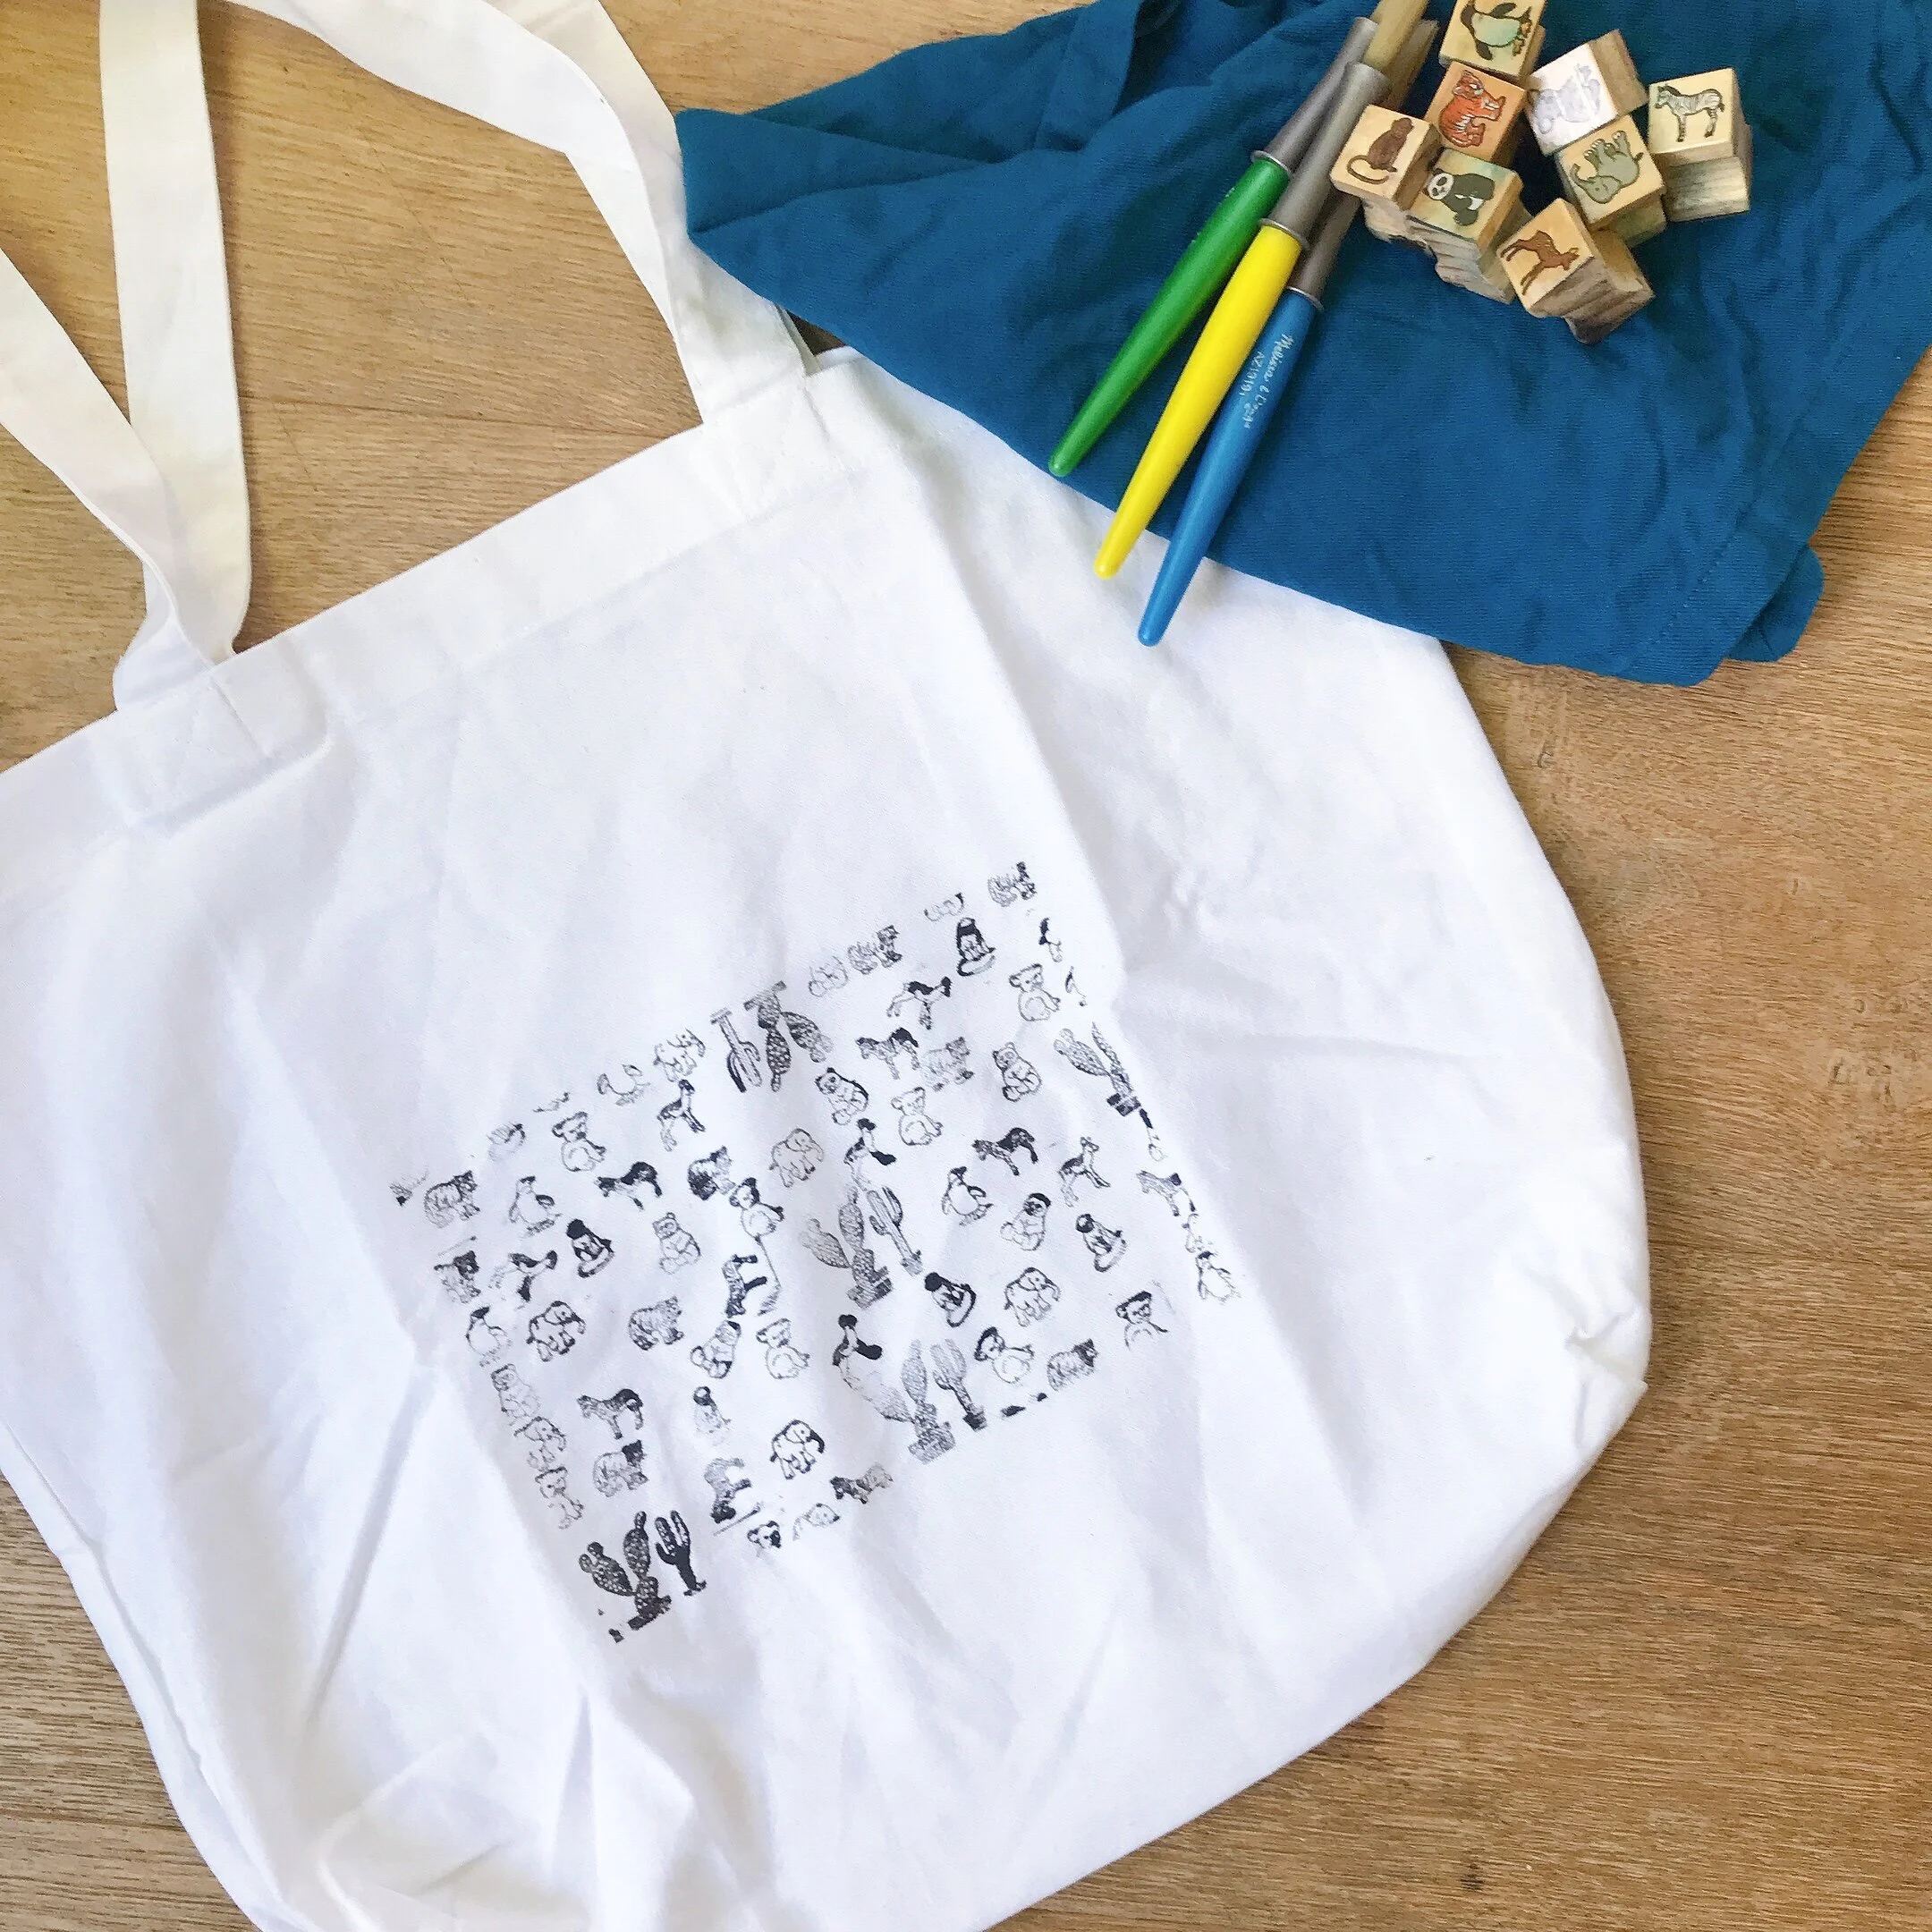
Personalized Custom Tote
What you’ll Need
blank cotton or canvas tote (I got mine from Michaels)
stamps (I used my existing kids stamp collection)
painters tape
fabric paint
paint brush
fabric pen
I love a good reusable bag and its always helpful to have personalized ones for kids. Makes a great gift for grandparents, friends, teachers, etc. Or a great reusable bag to insert a gift into! I was inspired by what Delia did on her blog but simplified it.
Prep your bag by ironing it ahead of time so that it lays flat (I clearly missed this step in my photo). Insert some paper inside in case the paint bleeds through.
With painters tape, I outlined the edges of where I wanted the artwork to end.
Let my toddler paint a stamp and then stamp within the edges of the painters tape. I let him stamp however he wanted as long as it was inside the painters tape edges.
Let it dry.
Add friend’s name to the bag with a fabric pen to personalize it!